
I think this write-up conveys the main reason why E-MU sound authoring in its original glory never took off. It was very cumbersome and had a lot of steps across the E4XT (for samples) and a Proteus 2000 (for presets). On top of that, the flash sticks needed for this process were prohibitively expensive in the days of yore.
Here’s a quick run walk-thru of how to sound author starting on the E4XT and finishing with the Proteus.
Making Samples: E4XT
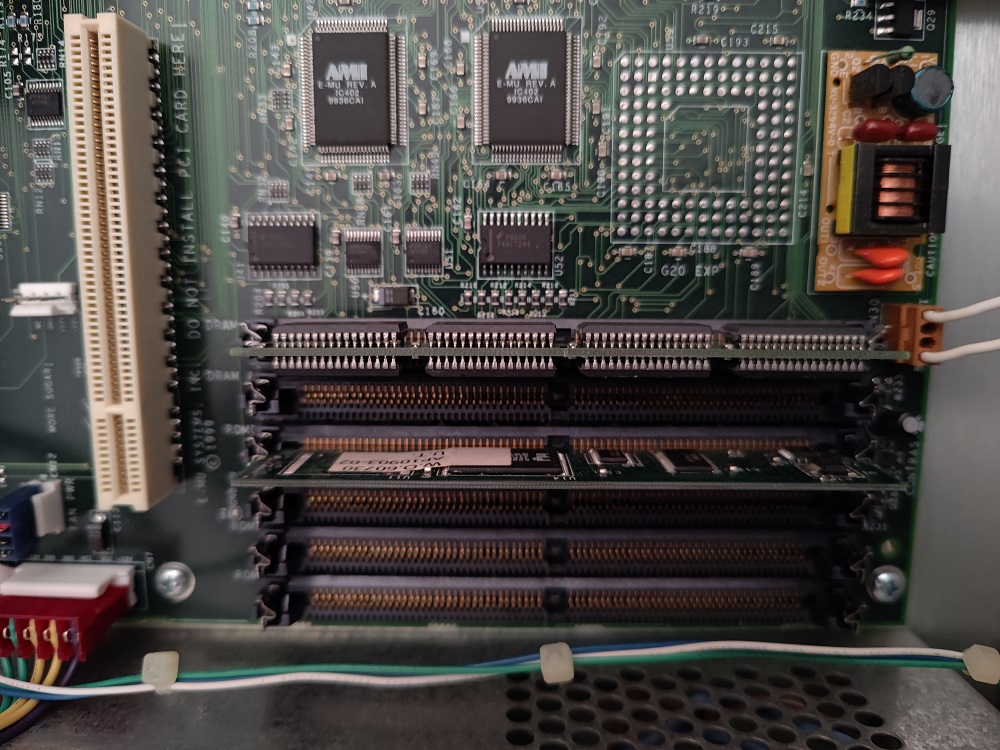
Install Flash ROM into ROM 0 slot. First two are DRAM, last four are for ROMs.
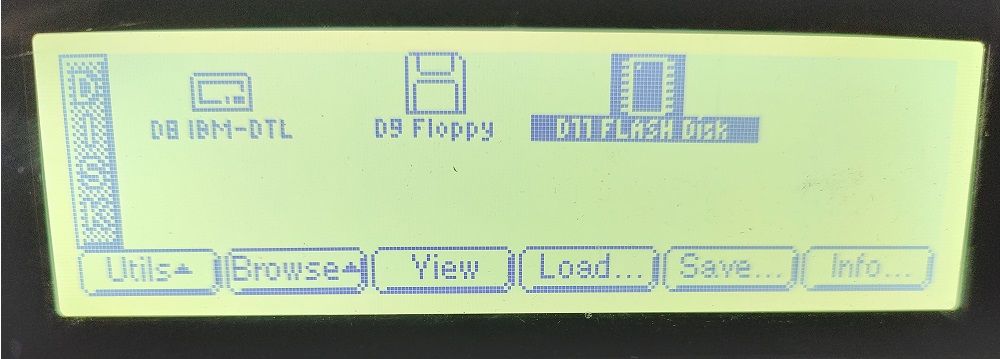
Power up and make sure your Flash ROM stick is recognized.
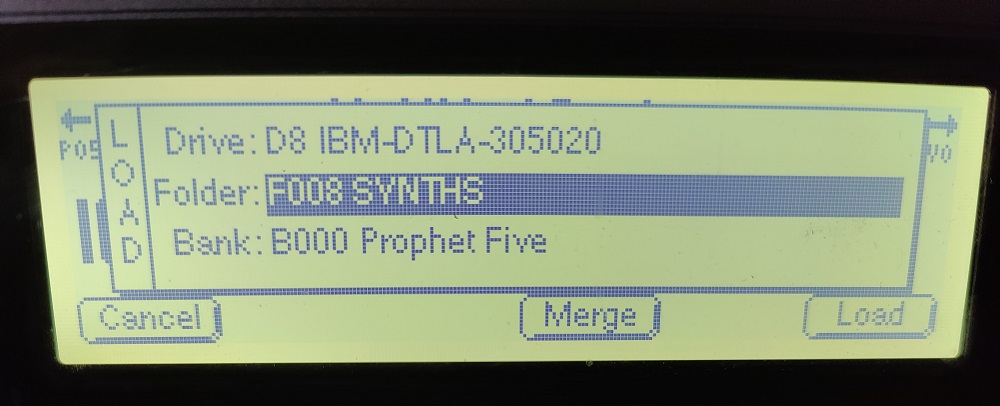
Load your samples of choice.
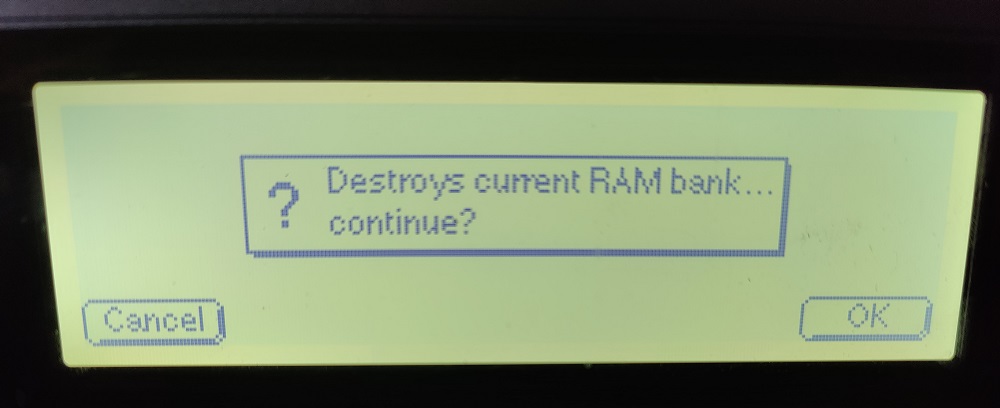
Destroy it! 🙂
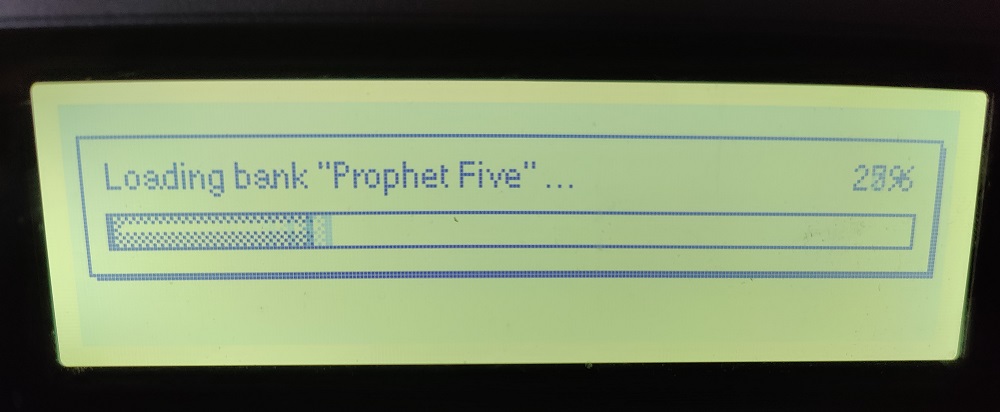
Loading up some Prophet 5 samples!
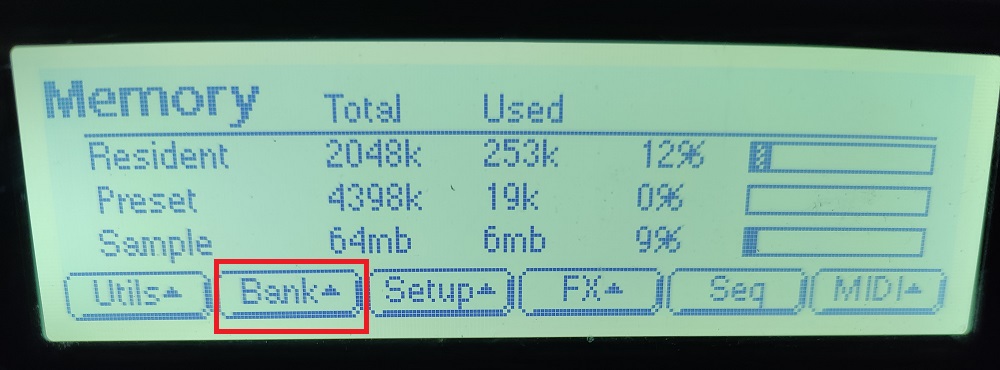
Once sample bank is loaded into RAM, click “Bank” menu.
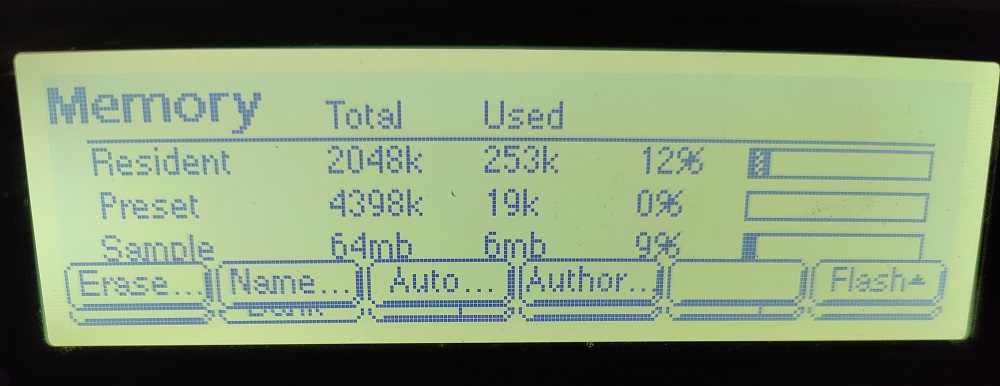
Select “Author” menu.
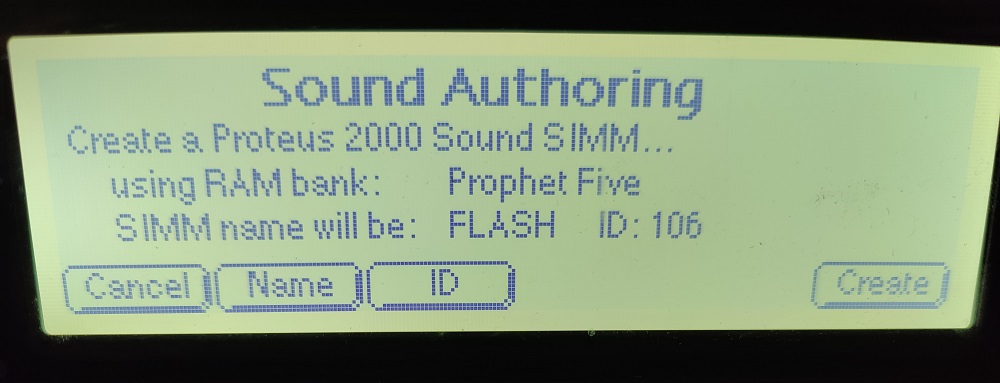
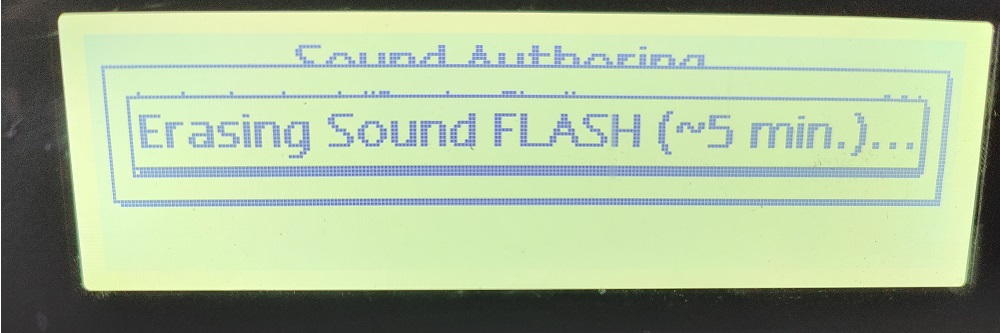
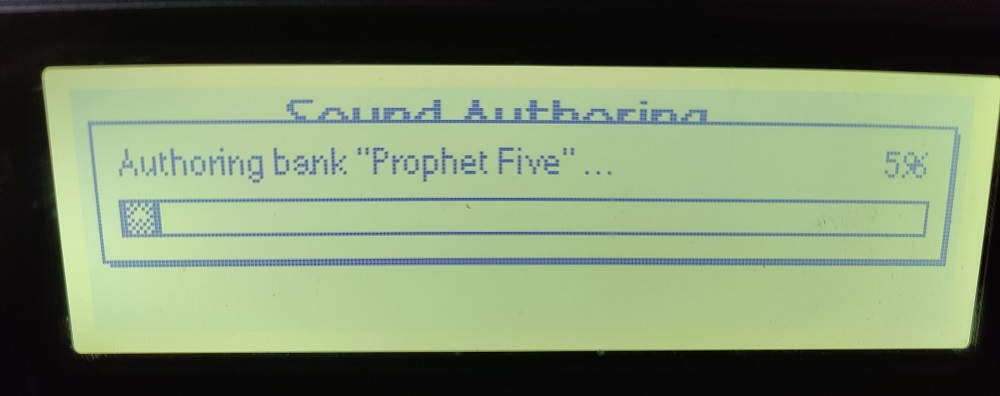
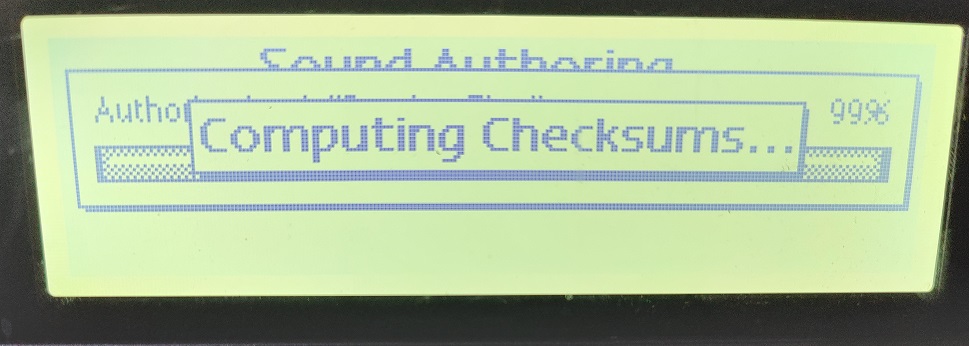
Choose the name of your ROM – 5 characters. Select ROM id – 106 in this case. Press “Create” when ready! Sound authoring process starts and with that, status popups for the entire process.

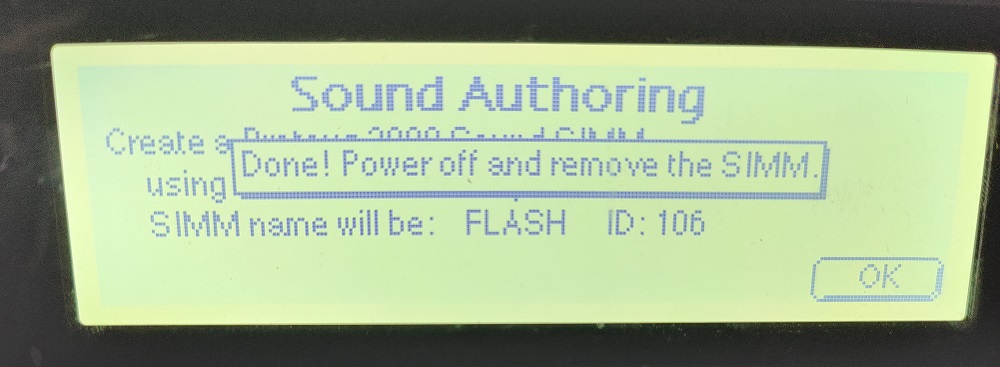
Flash ROM created with the Prophet 5 samples, and the Proteus 2000 objects needed for preset creation. When complete power off E4XT and remove the flash ROM. Dust of your Proteus 2000.
Making Presets: Proteus 2000
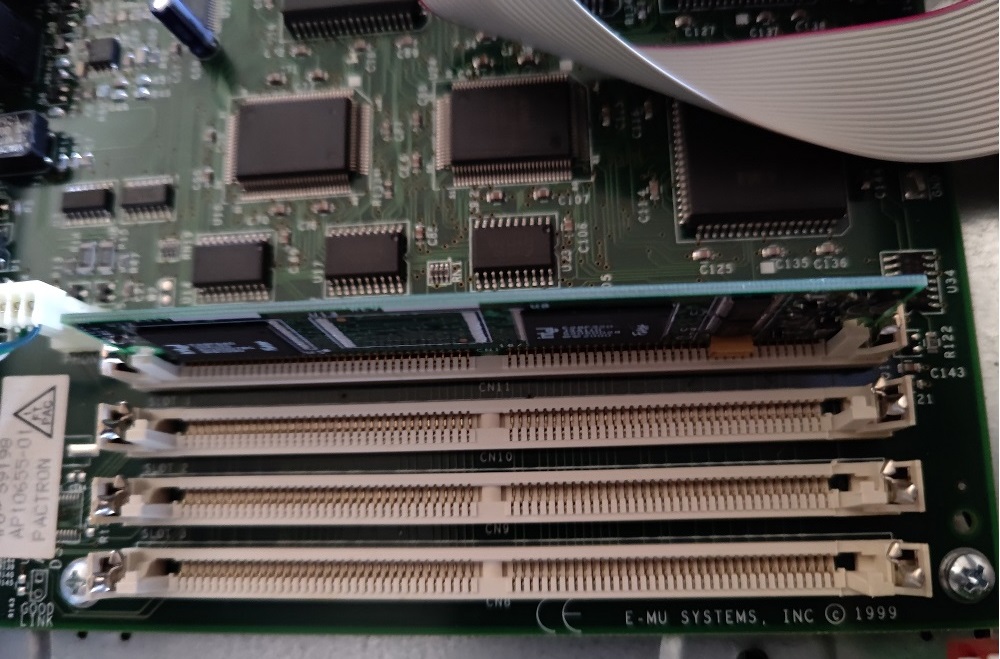
Install the flash ROM into the first SIMM slot in the Proteus 2000. Must be the first slot! Power on.
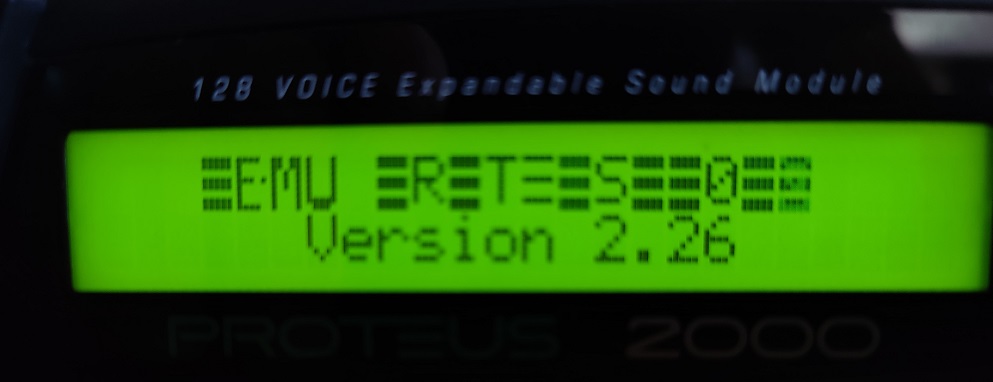
OS needs to be 2.26 for these options to be available.
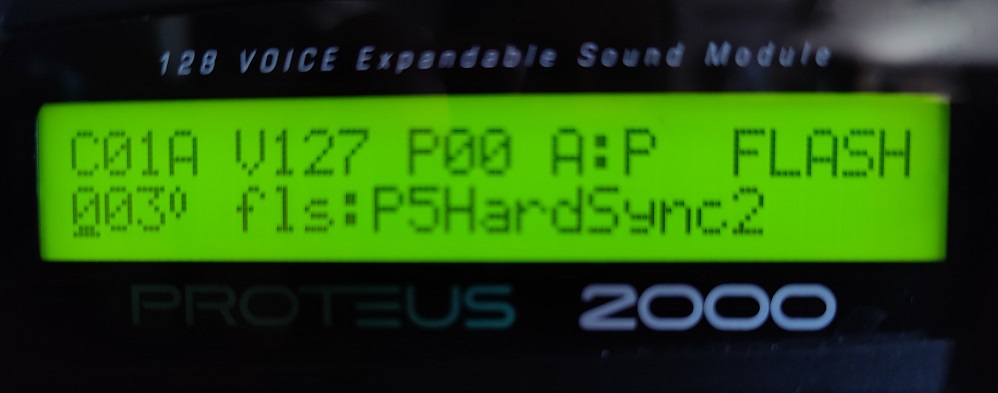
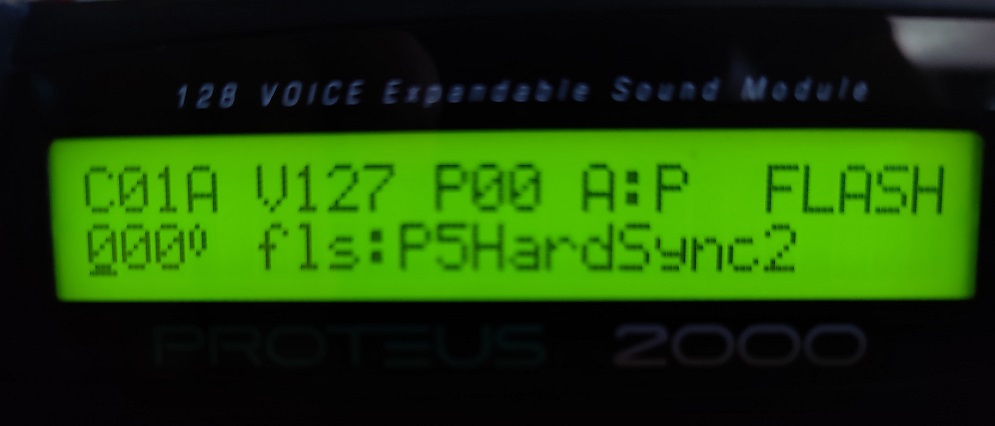
Here the Proteus 2000 recognizes the Flash ROM we made in the E4XT steps. For this example, I copied the fls:P5HardSync2 preset from the SIMM memory to a User bank.
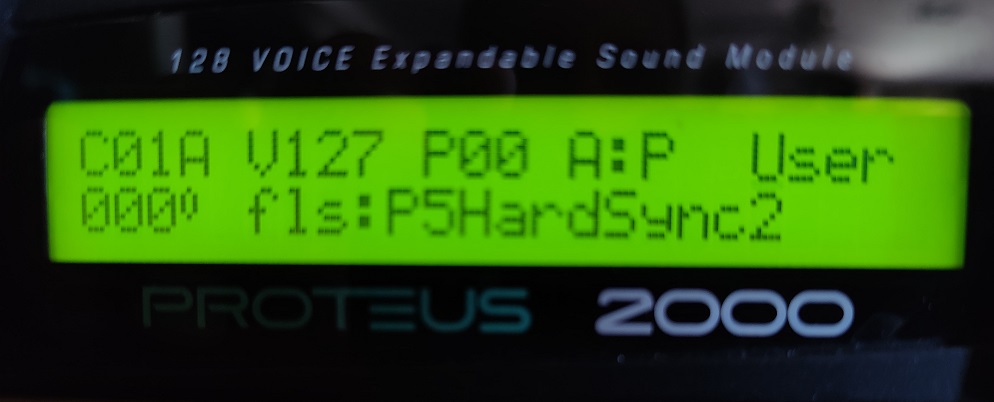
The preset fls:P5HardSync2 is now in User bank 0. This is the time when you would tweak the presets ad nauseam for every bank you copied. 4 user banks, 512 presets! This could be very painful without a midi editor.
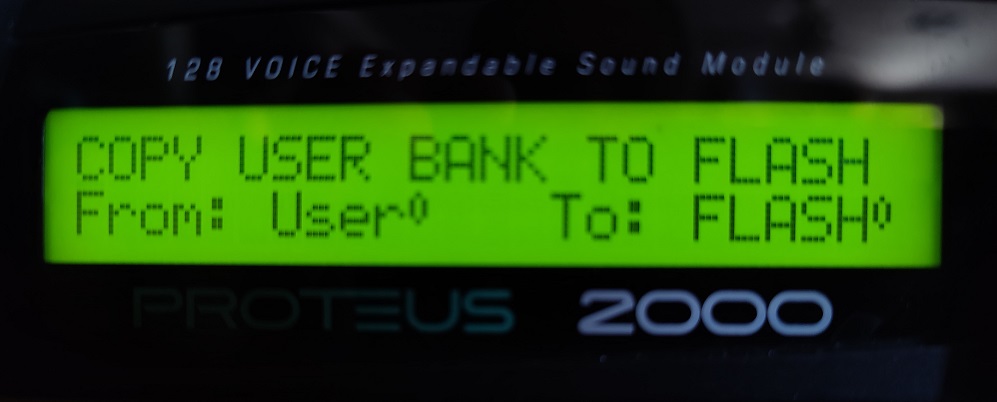
When done with the presets, click “Save/Copy” button and navigation to the copy user bank menu item. Select source bank and destination bank. Move cursor down to second row and hit enter.
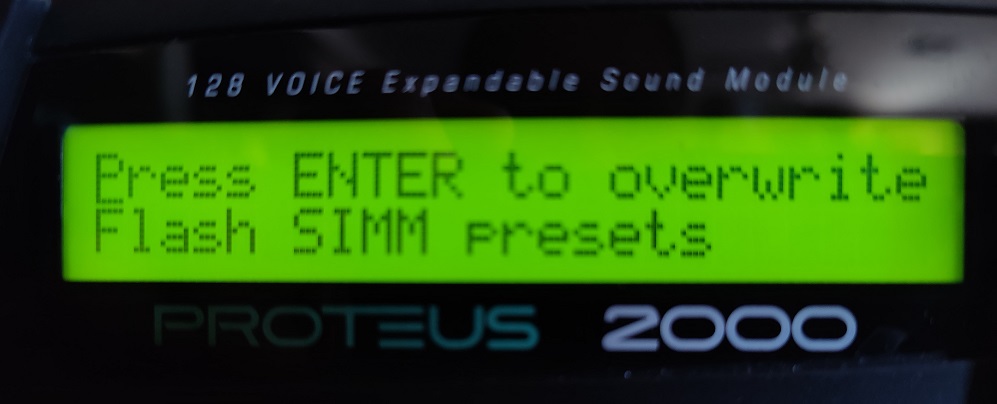
Confirm or deny.
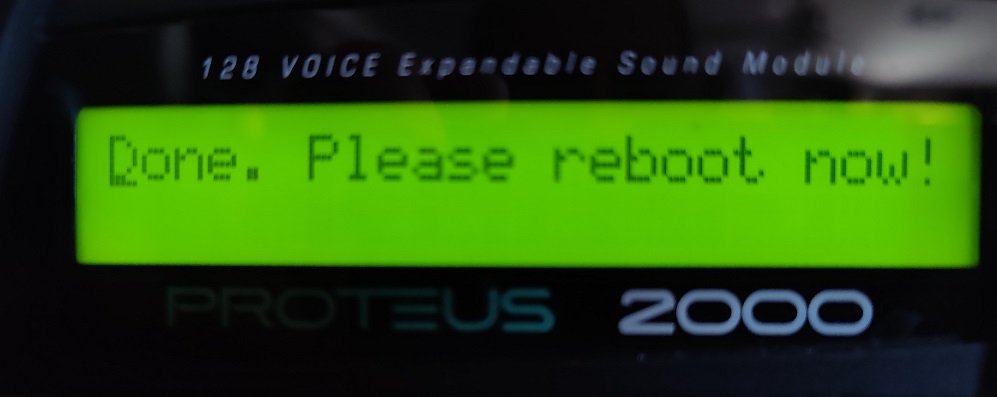
After write is complete, reboot!
Eager anticipation.
Flash preset was modified in user flash, and written back to flash! Trivial demonstration, but extremely time consuming. I expect to make quite a few improvements with a new programmer and tools to go with it: